This is a tutorial I did about gamma correction in Maya (Tutorial 1, Tutorial 2). I was having problems with the physical sun and sky in Maya's mental ray indirect lighting tab washing out many of the colors in my scene. I liked the physical sun and sky because of the realistic lighting they could provide, but I didn't like the way that the colors washed out, so I googled the problem and found out that the problem was because the gamma settings were too high, and I found some tutorials to fix the problem.
Above is a picture of what the scene looked like initially. As you can see, the avocados are washed out, and their green-brown color is not as vivid as I would like.
Above is a picture after I made some adjustments. I changed the texture on the avocados from a blinn to a mia_material_x and enabled ambient occlusion to make the texture look better. Then, I lowered the pedestal level in the mia_exposure_simple1 node to -0.05 to make the shadows a bit darker, which helped some, but I still wanted to make the avocados less washed out. I tried lowering the gamma in the node, but it made everything darker, and I only wanted to make the avocados darker and more vivid.
Above is the finished product. I kept reduced the pedestal level to -0.04 to make the shadows not quite so dark, and I added a gamma correction node to the avocado texture with three values of 0.8 to darken just the avocado texture and make it less washed out. Finally, just made a few changes to some of the textures in the scene, like the bowl and the granite, and I added a backsplash to the counter to make it look nice. Overall, this tutorials was not too bad, mostly just tweaking values and adjusting some of the textures. It was a great tutorial to fix the problem with the physical sun and sky object washing out the colors, and overall I feel like it makes the scene look a lot better.
Wednesday, January 30, 2013
Monday, January 28, 2013
Baking Lights to Textures
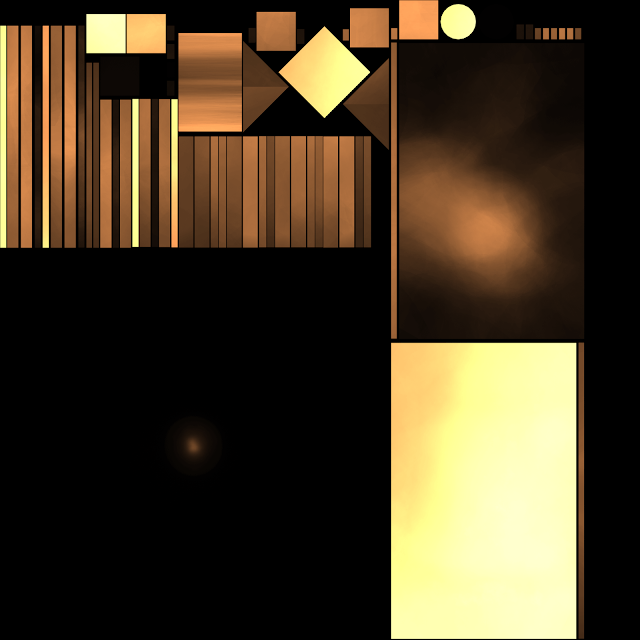
Here is a tutorial I did with baking lights to textures. This tutorial is for my group, Iron Sombrero. Basically, it involved combining the objects into one poly, creating an automatic mapping and tweaking it some, creating the lights and a sky dome, and then assigning different texture bake sets to the geometry to get different layers, such as occlusion, light and color, final gather, and global illumination. Overall, it was not too bad, but I kept having a problem with black borders around the faces of the geometry. You can see the problem in the pictures below. If you have any suggestions, please let me know. Below I also included the different uv texture files. Click on the images for a higher resolution.
Composited texture:
Global Occlusion:
Local Occlusion:
Light & Color:
Final Gather:
Global Illumination:
Composited texture:
Global Occlusion:
Local Occlusion:
Light & Color:
Final Gather:
Global Illumination:
Subscribe to:
Comments (Atom)


